How to learn electronics at home: a beginner's roadmap
Updated
You can learn electronics at a kitchen table. All it takes is a board smaller than your palm, a breadboard, a handful of parts and a laptop. Nothing gets soldered and nothing plugs into the wall: the USB cable powers the lot.
What stops most people isn't the parts. It's the order. Learn things in the wrong order and electronics feels like a pile of facts. Learn them in the right one and each step makes the next one obvious. Here is that order, with a milestone at every stage so you know when you've really got it.
Start free, in your browser
Before you buy anything, open the free browser simulator. You drop parts onto a virtual breadboard, wire them to a board, write the code and press run. The simulator emulates the real microcontroller chip, so code that works there works on a physical board.
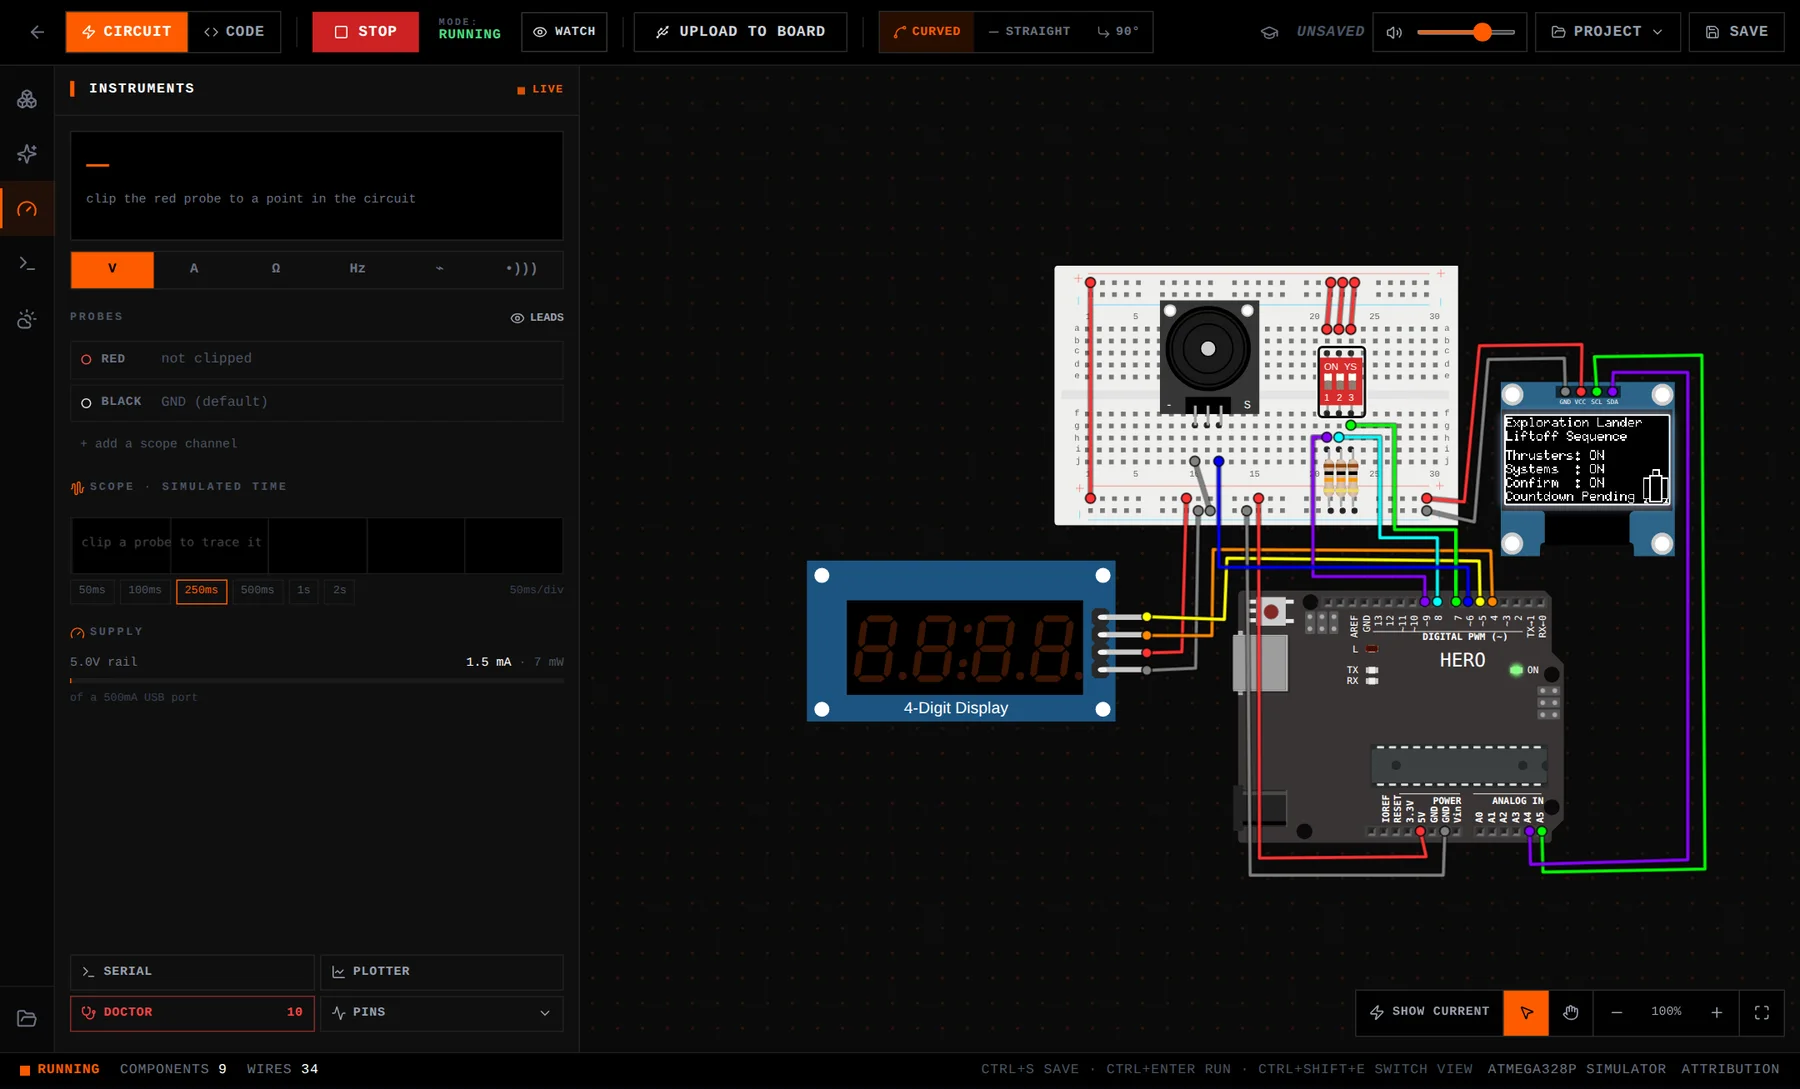
Then try the Daily Quest: a new circuit challenge every day, where you finish the wiring or fix the code. It's free and needs no kit, which makes it a fair test of whether you enjoy this before you spend anything.
The roadmap at a glance
| Stage | What you learn | You've got it when |
|---|---|---|
| 1 | Writing, uploading and running code | You change a blink's timing and it does what you predicted |
| 2 | A complete circuit | An LED you wired yourself blinks |
| 3 | Inputs and decisions | A switch decides when the light comes on |
| 4 | Reading a sensor | Covering a light sensor moves a number on screen |
| 5 | Shades between on and off | You mix the color you picked on an RGB LED |
| 6 | Parts with libraries | A keypad lock opens for your code and no other |
| 7 | Screens and whole systems | Several parts work together as one machine |
| 8 | Your own project | You build something no lesson asked for |
Each stage leans on the one before. Skipping ahead is how people end up with a robot kit and no idea why the motor won't turn.
Stage 1: make the board do something
Your first program blinks the light built into the board. There's no wiring, so the only thing that can be wrong is the code. The light isn't the point. The point is the loop you'll use for everything after it: change a line, upload, watch.
Every C++ program for these boards has two parts. setup() runs once when the board powers on, and loop() runs over and over until the power goes. What is a microcontroller? walks through the blink program line by line.
Milestone: you change delay(1000) to delay(100), say out loud that the light will flicker ten times faster, upload, and it does.
Stage 2: your first real circuit
Now the light leaves the board. You push an LED and a resistor into a breadboard and run two wires to the board: one from a pin, one back to ground. Current needs a complete loop, out of the pin and back into GND, and the resistor sets how much of it flows. Three ideas arrive at once:
- Polarity. An LED only works one way round: the long leg goes toward the pin. Backwards, it stays dark and comes to no harm.
- The resistor. Without one, an LED draws far more current than it can survive. 220 Ω is the standard on a 5 V board, and What resistor do I need for an LED? shows the one-line sum behind it.
- The breadboard. Each short row of five holes is joined underneath. Two legs in the same row are connected; one row over, they aren't. Breadboard Basics maps it.
#define CABIN_LIGHTS_PIN 12   // the LED's resistor is wired to pin 12

void setup() {
  pinMode(CABIN_LIGHTS_PIN, OUTPUT);
}

void loop() {
  digitalWrite(CABIN_LIGHTS_PIN, HIGH);  // light on
  delay(1000);                           // for one second
  digitalWrite(CABIN_LIGHTS_PIN, LOW);   // light off
  delay(100);                            // for a tenth of a second
}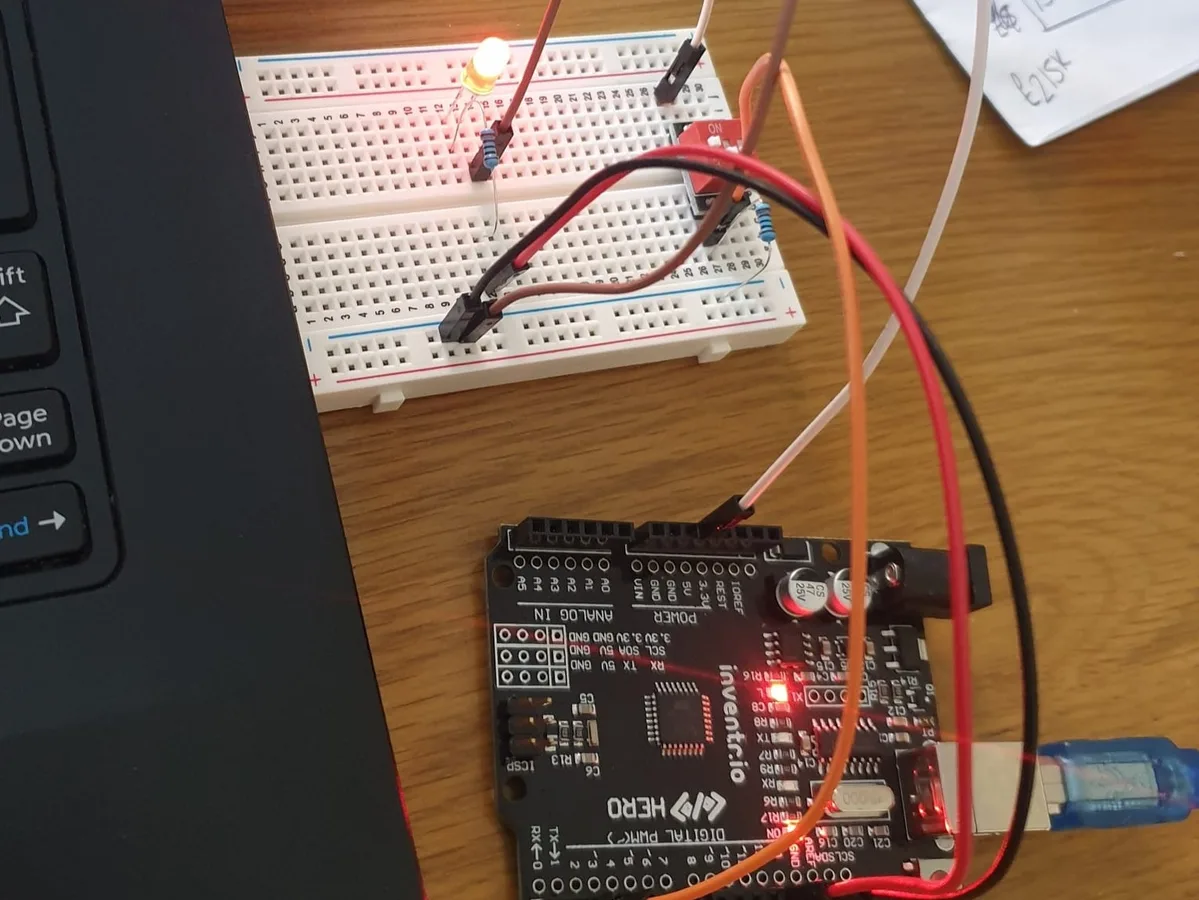
Milestone: an LED you wired yourself blinks to your code. If it stays dark, it's nearly always one of three things: the LED is backwards, a leg is one row off, or the code names a different pin. My LED Won't Turn On checks all three.
Stage 3: inputs and decisions
So far the board only talks. Now it listens. You wire a switch to a pin, read it with digitalRead(), and use if and else to decide what happens: switch on, light on.
Here you meet the idea that surprises everyone. A pin connected to nothing doesn't read as off. It floats, picking up electrical noise like a tiny antenna, and reads random values. A 10 kΩ resistor from the pin to ground, called a pull-down, holds it steady at LOW until the switch connects it to 5 V. Digital I/O and If/Else cover the code side.
Milestone: a switch you wired decides when the light comes on, and you can explain what the 10 kΩ resistor is doing there.
Stage 4: reading the real world
A switch is on or off. Most of the world isn't. A photoresistor changes its resistance with light, and paired with a fixed resistor it makes a voltage that rises and falls with the brightness of the room. analogRead() turns that voltage into a number from 0 to 1023 on the HERO Board.
This is also when you start printing values to the Serial Monitor. Watching the number drop as your hand covers the sensor is the moment the board stops being a black box.
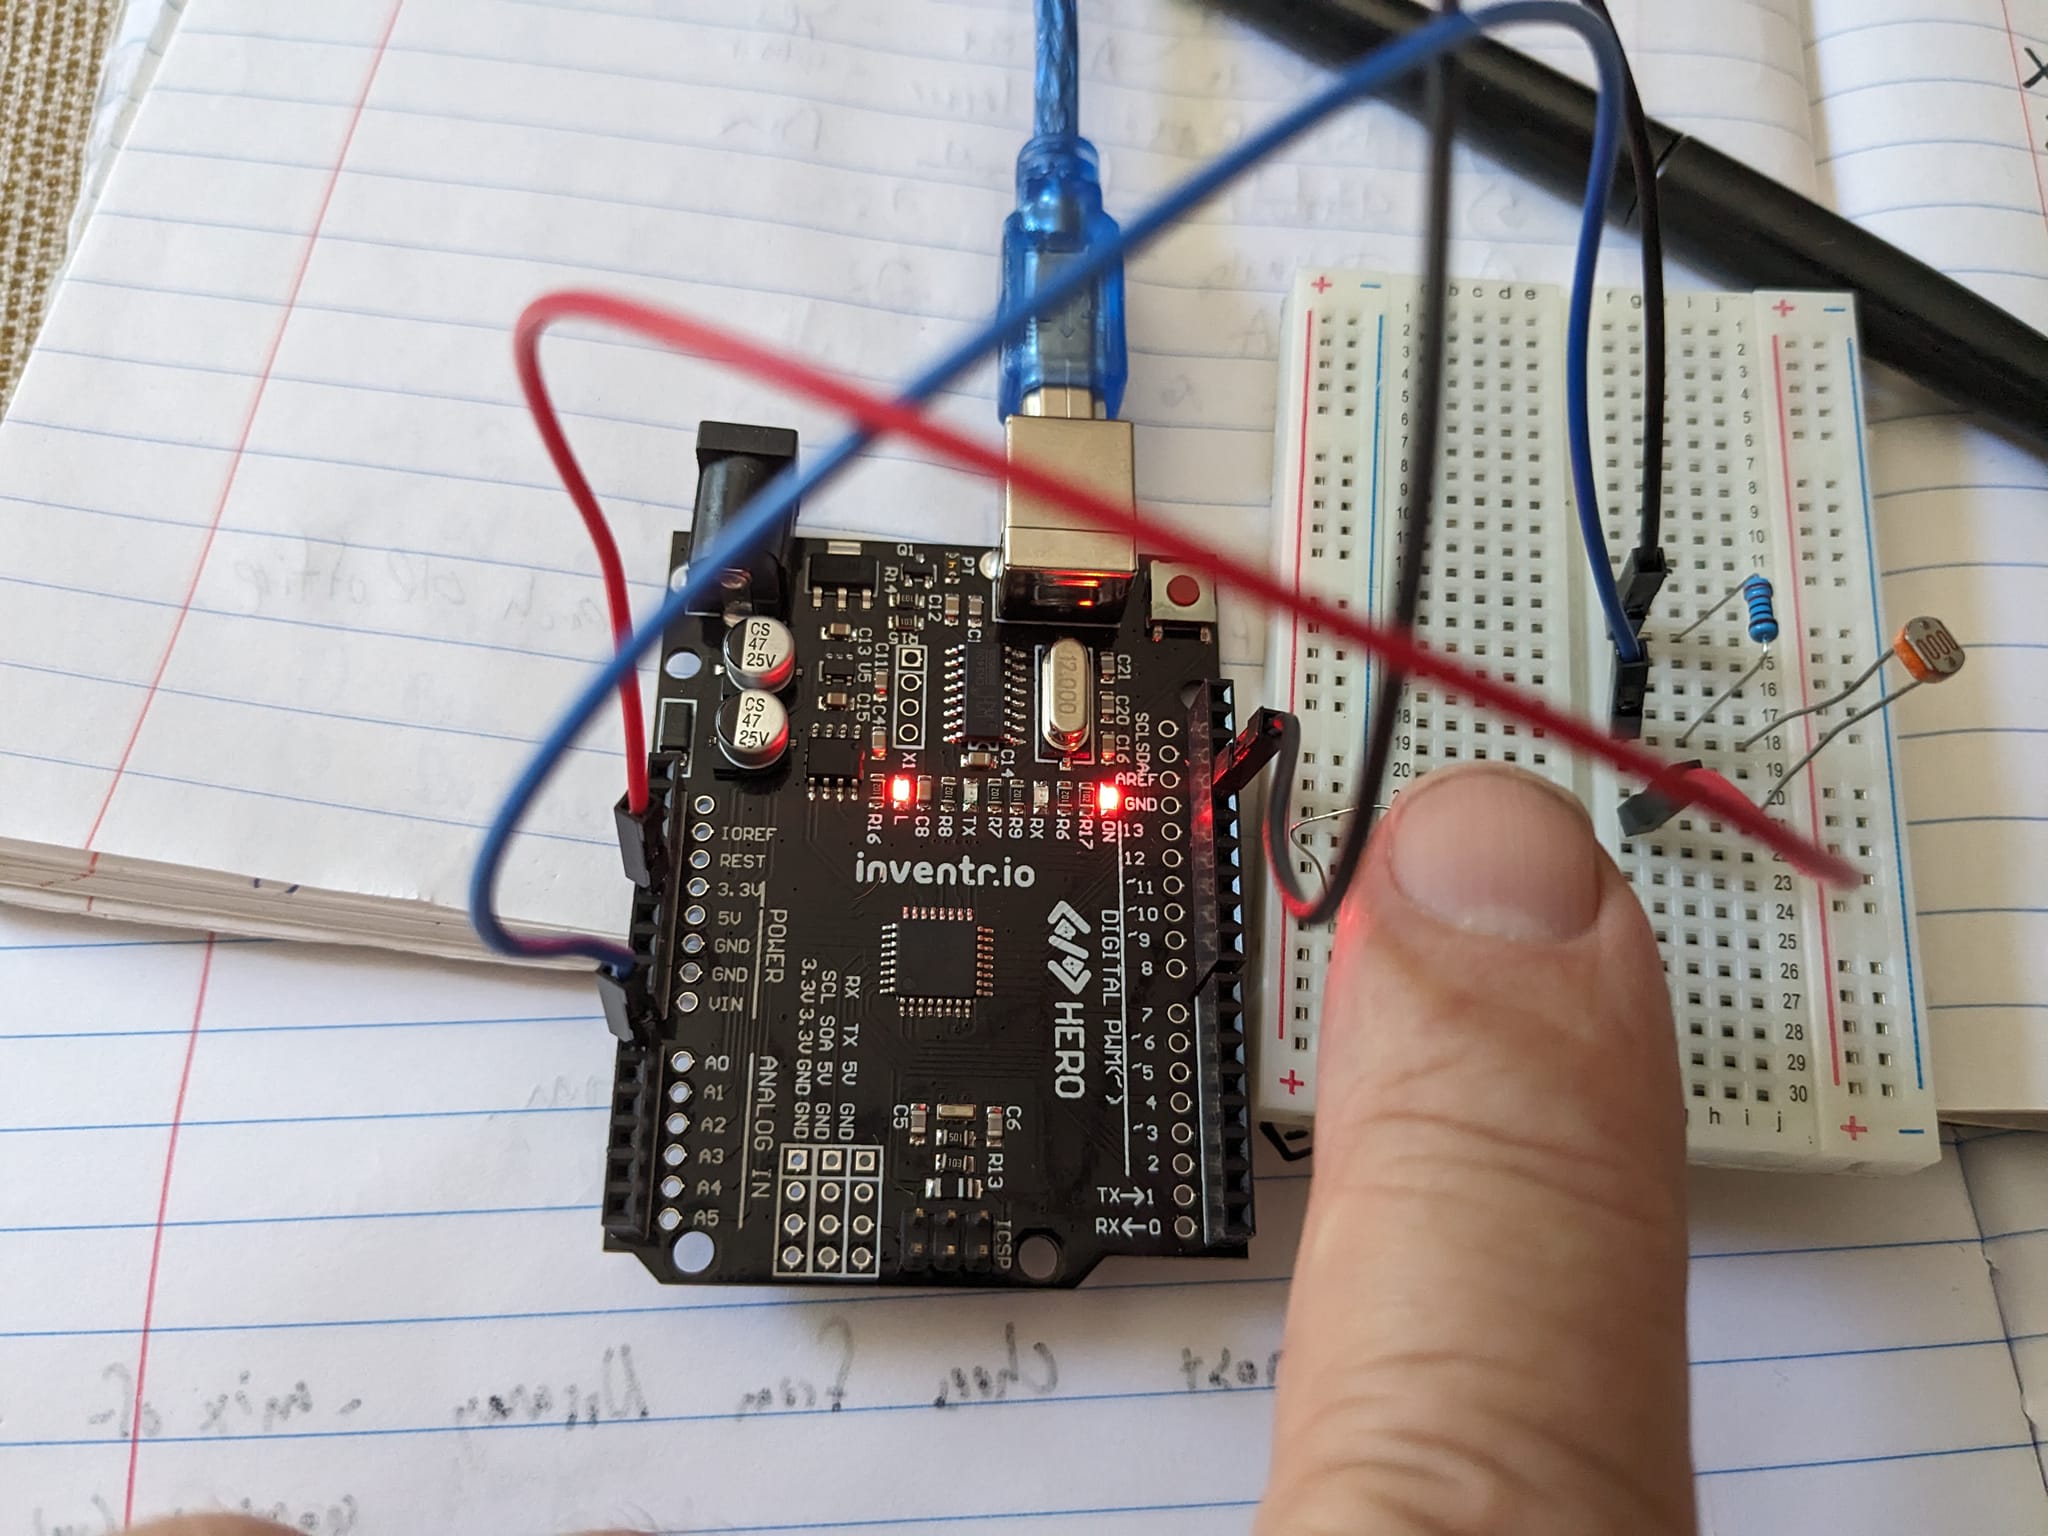
Milestone: you cover the sensor, watch the number fall, and write the if that does something when it's dark. Analog Input and Voltage Dividers explain why it works.
Stage 5: the shades in between
A pin is either 5 V or 0 V, so how does an LED glow at half brightness? It flickers. analogWrite() switches the pin on and off hundreds of times a second, and your eye averages the flicker into a steady glow. That trick is PWM.
Put a red, a green and a blue LED in one bulb, use PWM on each leg, and your code can mix almost any color. That's the RGB LED, and it's the first part where a few numbers in code turn into something you'd show someone.
Milestone: you pick a color, work out its three numbers, and the RGB LED shows it. Then you make the color follow the light sensor.
Stage 6: parts that come with a library
Some parts are too fiddly to drive pin by pin. A 16-button keypad is a grid of crossing wires; a 4-digit display needs its digits refreshed faster than your eye can see. For these you use a library: tested code someone else wrote, which you call in a line or two.
- A keypad becomes a passcode lock with the Keypad Library.
- A passive buzzer plays tones and alarms with tone().
- A 4-digit display shows counts and countdowns through the TM1637 library.
- A rotary encoder turns a knob into clicks your code can count: see Rotary Encoder.
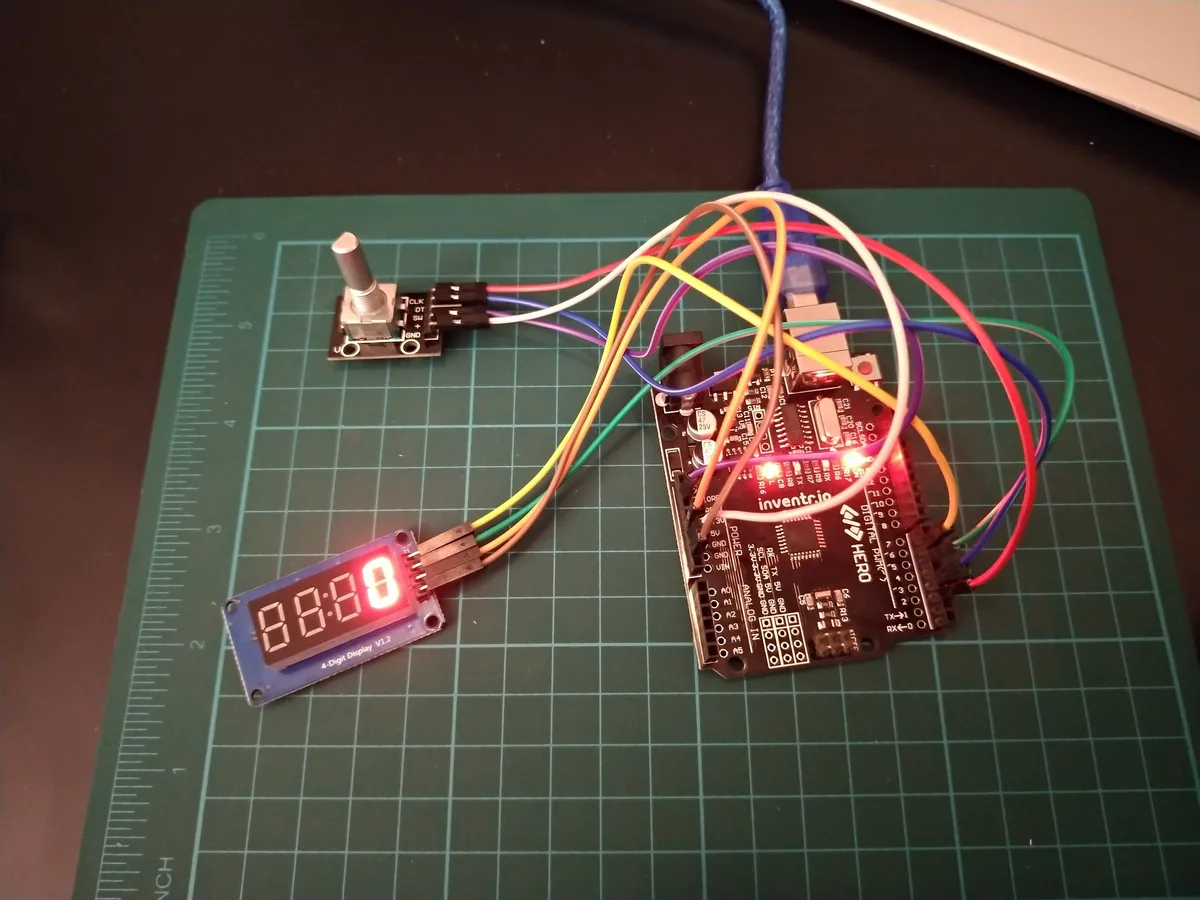
Milestone: the keypad lock opens for your code and stays shut for every other. You read a library's example, then changed it to do what you wanted.
Stage 7: screens, and whole systems
An OLED screen talks to the board over two signal wires using I2C, and the U8g2 library draws text, shapes and pictures on it. Once a project has a screen, it can explain itself.
The bigger shift at this stage is structure. A launch panel with three arming switches, a countdown and a status screen is too much for one long loop(). You learn to split code into functions, to time things with millis() instead of delay(), and to track which mode the machine is in with a state machine.
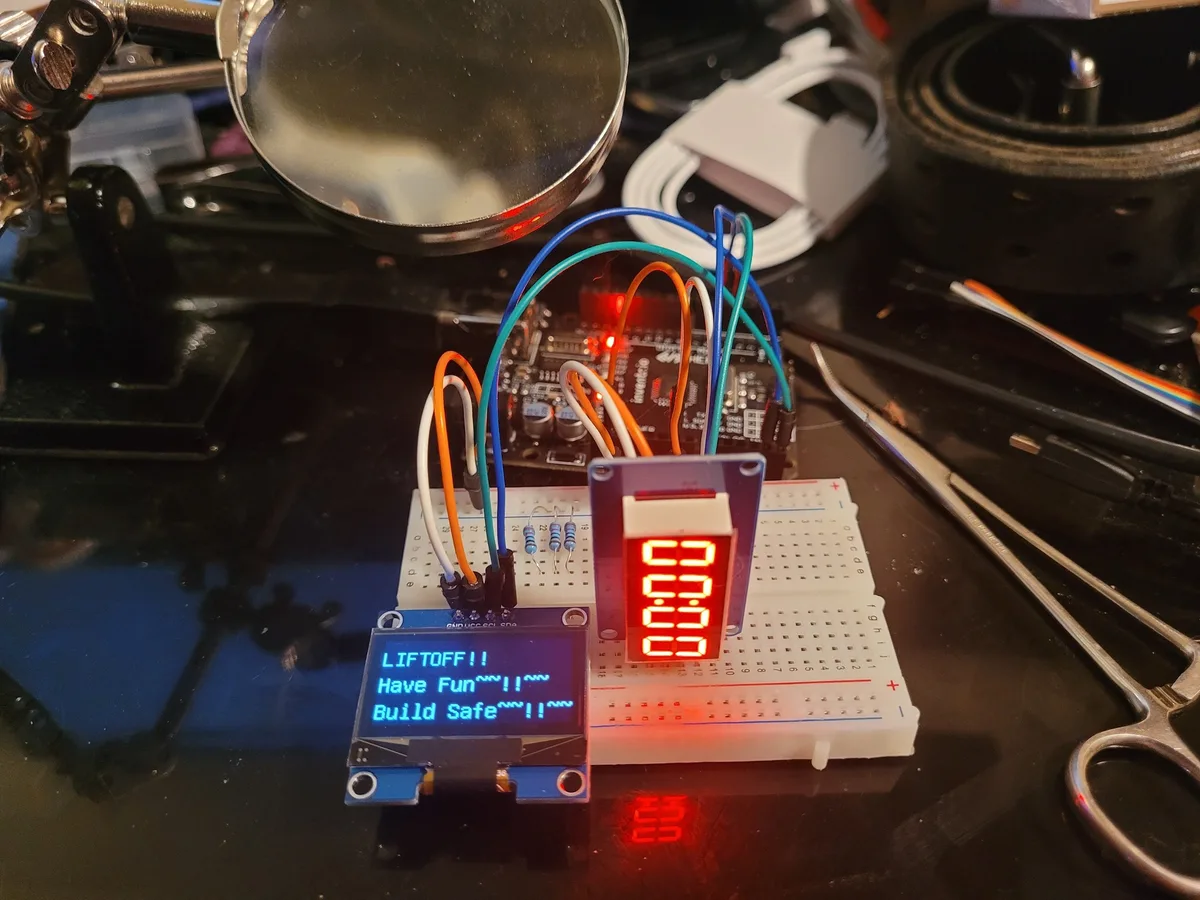
Milestone: several parts work together as one machine, and when it misbehaves you can tell whether the fault is in the wiring or the code.
Stage 8: build something nobody assigned
This is the real finish line: a drawer of parts, an idea, and no lesson. The first few will be small, like a reaction timer, a night light that fades, a door alarm. That's right. What counts is that you planned it, wired it and debugged it yourself.
From here the paths split. For more pins and bigger builds, a Mega-compatible board like the HERO XL. For Python or Wi-Fi, the Raspberry Pi Pico WH: Uno-compatible or Pico compares them, and C++ or MicroPython compares the languages. To sense more of the world, a 37-in-1 sensor kit.
What to skip at the start
- Soldering. Every beginner build plugs into a breadboard. Learn to solder when you want a project to be permanent.
- Heavy theory. You need Ohm's law early and very little else. Learn the rest when a project asks for it; it sticks far better then.
- Mains electricity. Stay on USB power and batteries. Anything that plugs into a wall socket is a different and dangerous subject.
- A giant first project. A robot combines motors, power, sensors and code, and when it fails you can't tell which part failed. Build the pieces first.
- A bag of random parts. Parts with no plan end up in a drawer. Buy parts when a lesson or a project calls for them.
How to practice so it sticks
- One new idea per session. A new part or a new piece of code, not both at once.
- Predict, then run. Say what will happen before you upload. When you're wrong, that's the lesson.
- Change one thing at a time. Then you know which change broke it.
- Print your values.
Serial.println()shows what the board actually sees, which is rarely quite what you assumed. - Keep the last version that worked. Copy it before a big change, so you can always step back.
When a kit is worth it
The simulator teaches the code and the logic, and it's honest about electricity: wire an LED with no resistor and it burns out on screen. What it can't give you is the hands-on half of the skill. A leg that isn't pushed all the way in, a wire one row off, a part in backwards: finding those with your own eyes and fingers is half of learning electronics.
A kit earns its place when you're ready for that. Its value isn't the parts, which are cheap one at a time. It's that every part matches a lesson, in an order that builds, with someone on screen doing the same build alongside you. What you need to start learning electronics lists the parts if you'd rather gather your own.
30 Days Lost in Space: Stages 1 to 7 in one box: the HERO Board, every part those stages use, and 31 filmed lessons in one story. Your first light blinks in mission one.
Questions
How long does it take to learn electronics?
Your first LED can blink in your first session. The 30 Days Lost in Space course covers stages 1 to 7 in 31 lessons, so at a lesson a day that's about a month, and nothing stops you going slower. Stage 8 never really ends.
Can I learn electronics without buying anything?
Yes, to start. The browser simulator and the Daily Quest are free and run real code on an emulated chip. You'll want real parts once you can wire a circuit on screen without help.
Do I need to be good at math?
No. Ohm's law is one multiplication or division, and you'll mostly use it to pick resistors. Everything else at this level is arithmetic.
Should I learn electronics or programming first?
Both at once. On a microcontroller each gives the other a reason: the code makes the circuit do something, and the circuit makes the code visible.
What age can you start?
Our kits are for 12 and up, as printed on the box. They assume no experience, and plenty of adults learn on them from zero too.