KY-039 heartbeat sensor module: wiring and pulse code
Updated
The KY-039 reads your pulse with nothing but light. An infrared LED shines into your fingertip, a light sensor on the other side watches, and every heartbeat changes how much light gets through.
It's also the hardest module in the 37-in-1 kit to get a clean reading from. In the walkthrough the instructor calls the raw data hard to do much with, and the room lights got in the way. That makes it the kit's best lesson in turning a noisy signal into a number, and the course's second sketch shows exactly how.
What's on the board
- An infrared LED, which shines light you can't see into your fingertip.
- A light sensor (a phototransistor) facing it, which lets more current through the more infrared reaches it.
- A 3-pin header: S for the analog signal, the middle pin for 5 V, and minus for ground.
You slip a fingertip between the LED and the sensor, or rest it across them, whichever is comfortable. There's no chip on the board and no library to install: S is an analog voltage, and the cleverness is all in the code.
How light shows a heartbeat
Blood absorbs infrared light. Each time your heart beats, it pushes a little extra blood into the tiny vessels of your fingertip, so for a moment less light gets through to the sensor. Then the pulse passes and the light comes back. The signal on S rises and falls once per beat.
The catch is size. That change is tiny next to the steady level from the light that always gets through, and it's easily swamped by other light in the room and by your finger moving. That's the noise the walkthrough ran into, and it's what the course's second sketch is built to remove.
It's the same idea as the clip a nurse puts on your finger, in its simplest form. Use it to learn how signals work, not to check your health.
Wiring the KY-039 to the HERO Board
| KY-039 pin | HERO Board | What it carries |
|---|---|---|
| S | A0 | The light reading |
| Middle (+) | 5V | Power |
| Minus (-) | GND | Ground |
The walkthrough uses A0. Any analog pin from A0 to A5 works if you change the code to match.
Step 1: see the raw signal
The course's first sketch prints every reading as fast as it can, for the Serial Plotter:
#define SENSOR_PIN A0

void setup() {
  Serial.begin(9600);
}

void loop() {
  Serial.println(analogRead(SENSOR_PIN));
}Upload it, open Tools > Serial Plotter at 9600 baud, and put your finger on the sensor. In the walkthrough the line changed clearly as the finger went in and came out. Now hold still, in a dim spot, and look closely: riding on the line is a small, regular ripple, in time with your pulse. Everything else on the screen is noise.
Step 2: turn it into beats per minute
The course's second sketch cleans the signal up in stages, then times the beats:
- Average out the room lights. It reads A0 as many times as it can in 20 ms and averages them. Many lights on mains power flicker at twice the mains frequency: 100 times a second where mains is 50 Hz, so 20 ms holds exactly two flickers and they cancel out. Where mains is 60 Hz, as in North America, lights flicker 120 times a second; set the window to 17 ms for the same effect.
- Smooth it. It keeps the last four of those averages and works from their mean, so one odd reading can't fake a beat.
- Find the rise. A beat shows up as the signal climbing. When it has risen more than five readings in a row (over a tenth of a second), the sketch counts a beat, then waits for the signal to fall before it can count another.
- Time it. The gap since the last beat gives the rate: 60,000 ms divided by the gap. To steady the number it blends the last three gaps, weighting the newest at 40 % and the two before it at 30 % each.
#define samp_siz 4         // how many 20 ms averages to smooth over
#define rise_threshold 5   // rises in a row that count as a beat
#define WINDOW_MS 20       // 20 for 50 Hz mains, 17 for 60 Hz

int sensorPin = A0;

void setup() {
  Serial.begin(9600);
}

void loop() {
  float reads[samp_siz] = {0};
  float sum = 0;
  long ptr = 0;
  float last = 0, reader = 0, before = 0;
  float first = 0, second = 0, third = 0, print_value = 0;
  bool rising = false;
  int rise_count = 0;
  int n;
  long start, now;
  long last_beat = 0;

  while (1) {
    // average the sensor over one window, to cancel light flicker
    n = 0;
    start = millis();
    reader = 0.;
    do {
      reader += analogRead(sensorPin);
      n++;
      now = millis();
    } while (now < start + WINDOW_MS);
    reader /= n;

    // keep a running sum of the last samp_siz averages
    sum -= reads[ptr];
    sum += reader;
    reads[ptr] = reader;
    last = sum / samp_siz;

    // a rising curve is a heartbeat
    if (last > before) {
      rise_count++;
      if (!rising && rise_count > rise_threshold) {
        rising = true;   // don't count this rise twice
        first = millis() - last_beat;
        last_beat = millis();
        // weighted average of the last three gaps, in beats per minute
        print_value = 60000. / (0.4 * first + 0.3 * second + 0.3 * third);
        Serial.println(print_value);
        third = second;
        second = first;
      }
    } else {
      // the curve is falling
      rising = false;
      rise_count = 0;
    }
    before = last;
    ptr++;
    ptr %= samp_siz;
  }
}Notice that loop() never ends: everything runs inside while (1), so the variables keep their values from one pass to the next. The first two or three numbers it prints are nonsense while it gathers three real gaps between beats. After that it settles.
Getting a clean reading
- Shade it. The walkthrough found room lights interfered. A darker room, or a sensor kept out of direct light, works much better; cupping your other hand over it helps.
- Rest, don't press. Pressing hard squeezes the blood out of your fingertip, which flattens the very change you're measuring.
- Keep still. Moving your finger changes the light far more than your pulse does.
- Wait for three beats. The rate is built from the last three gaps, so ignore the first few numbers.
- Match the window to your mains. 20 ms for 50 Hz countries, 17 ms for 60 Hz ones.
What to build with it
- A pulse light. Blink an LED on every beat. The instructor found it hard to drive an LED from the raw signal; from this sketch, switch it on at the moment
risingturns true. - A live graph. The raw sketch in the Serial Plotter is the most satisfying thing in the kit to watch.
- A calm-down challenge. Show your rate, then see how far slow breathing brings it down.
- A readout. Print the rate on an OLED display so it works away from the computer.
Watch it
The KY-039 walkthrough is lesson 31 of the SensorKit course. The KY-039 isn't in the browser simulator; this one needs the real module and a real finger. Every module in the 37-in-1 sensor kit covers the rest of the case, and the Help Center's analogRead and millis() timing articles explain the two tools the pulse monitor is built from.
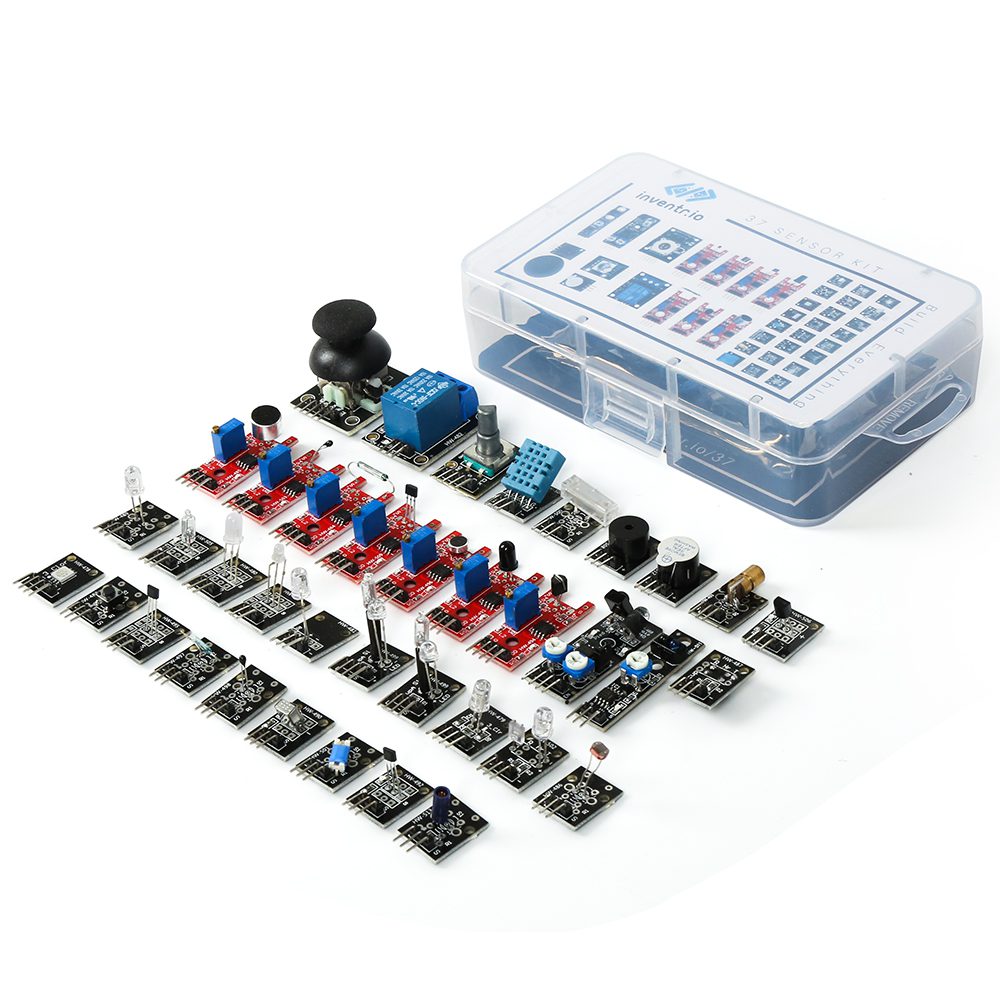
37-in-1 Sensor Kit: The KY-039 and 36 more modules in a latching case, with the free SensorKit course: 31 filmed walkthroughs and example code.
HERO Board: The Uno-compatible board the SensorKit walkthroughs are built around, with its USB cable.
Questions
How does the KY-039 heartbeat sensor work?
An infrared LED shines into your fingertip and a phototransistor measures how much light gets through. Each heartbeat briefly adds blood, which absorbs more light, so the reading ripples once per beat.
Why is my KY-039 reading so noisy?
The pulse is a tiny change on top of a large steady signal. Room lights, movement and pressing too hard all swamp it. Shade the sensor, rest your finger lightly and keep still.
Can the KY-039 measure beats per minute?
Yes, with code that finds each beat and times the gaps. The SensorKit course's second sketch does this and prints a rate blended from the last three beats.
Is the KY-039 accurate enough for medical use?
No. It's a module for learning. Use it to explore signals, not to check your health.