KY-037 big sound sensor module: wiring, code and a clap switch
Updated
The KY-037 is the kit's ear for the room. Its big microphone is the more sensitive of the kit's two sound sensors, and its comparator turns a clap into a pulse on a pin your board can count.
It's also one of the most misunderstood modules in the kit, because what comes out of it isn't a volume level. Here's what it really sends, how to set its trim pot so it ignores the room and catches the clap, and a clap switch that doesn't count one clap twice.
What's on the board
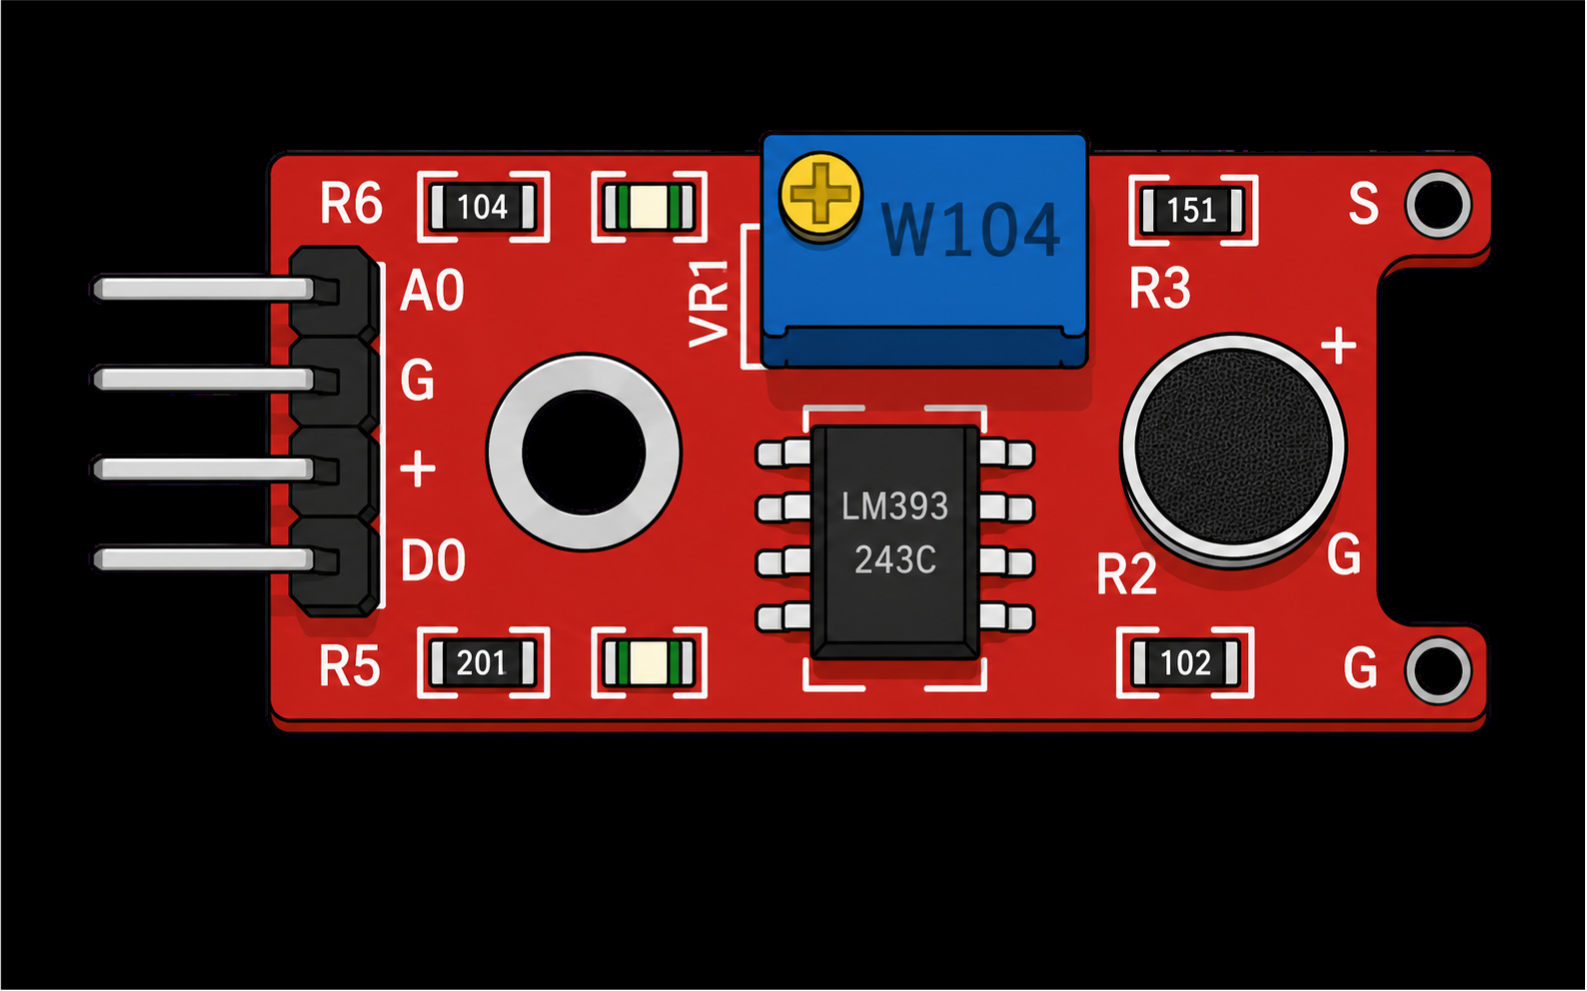
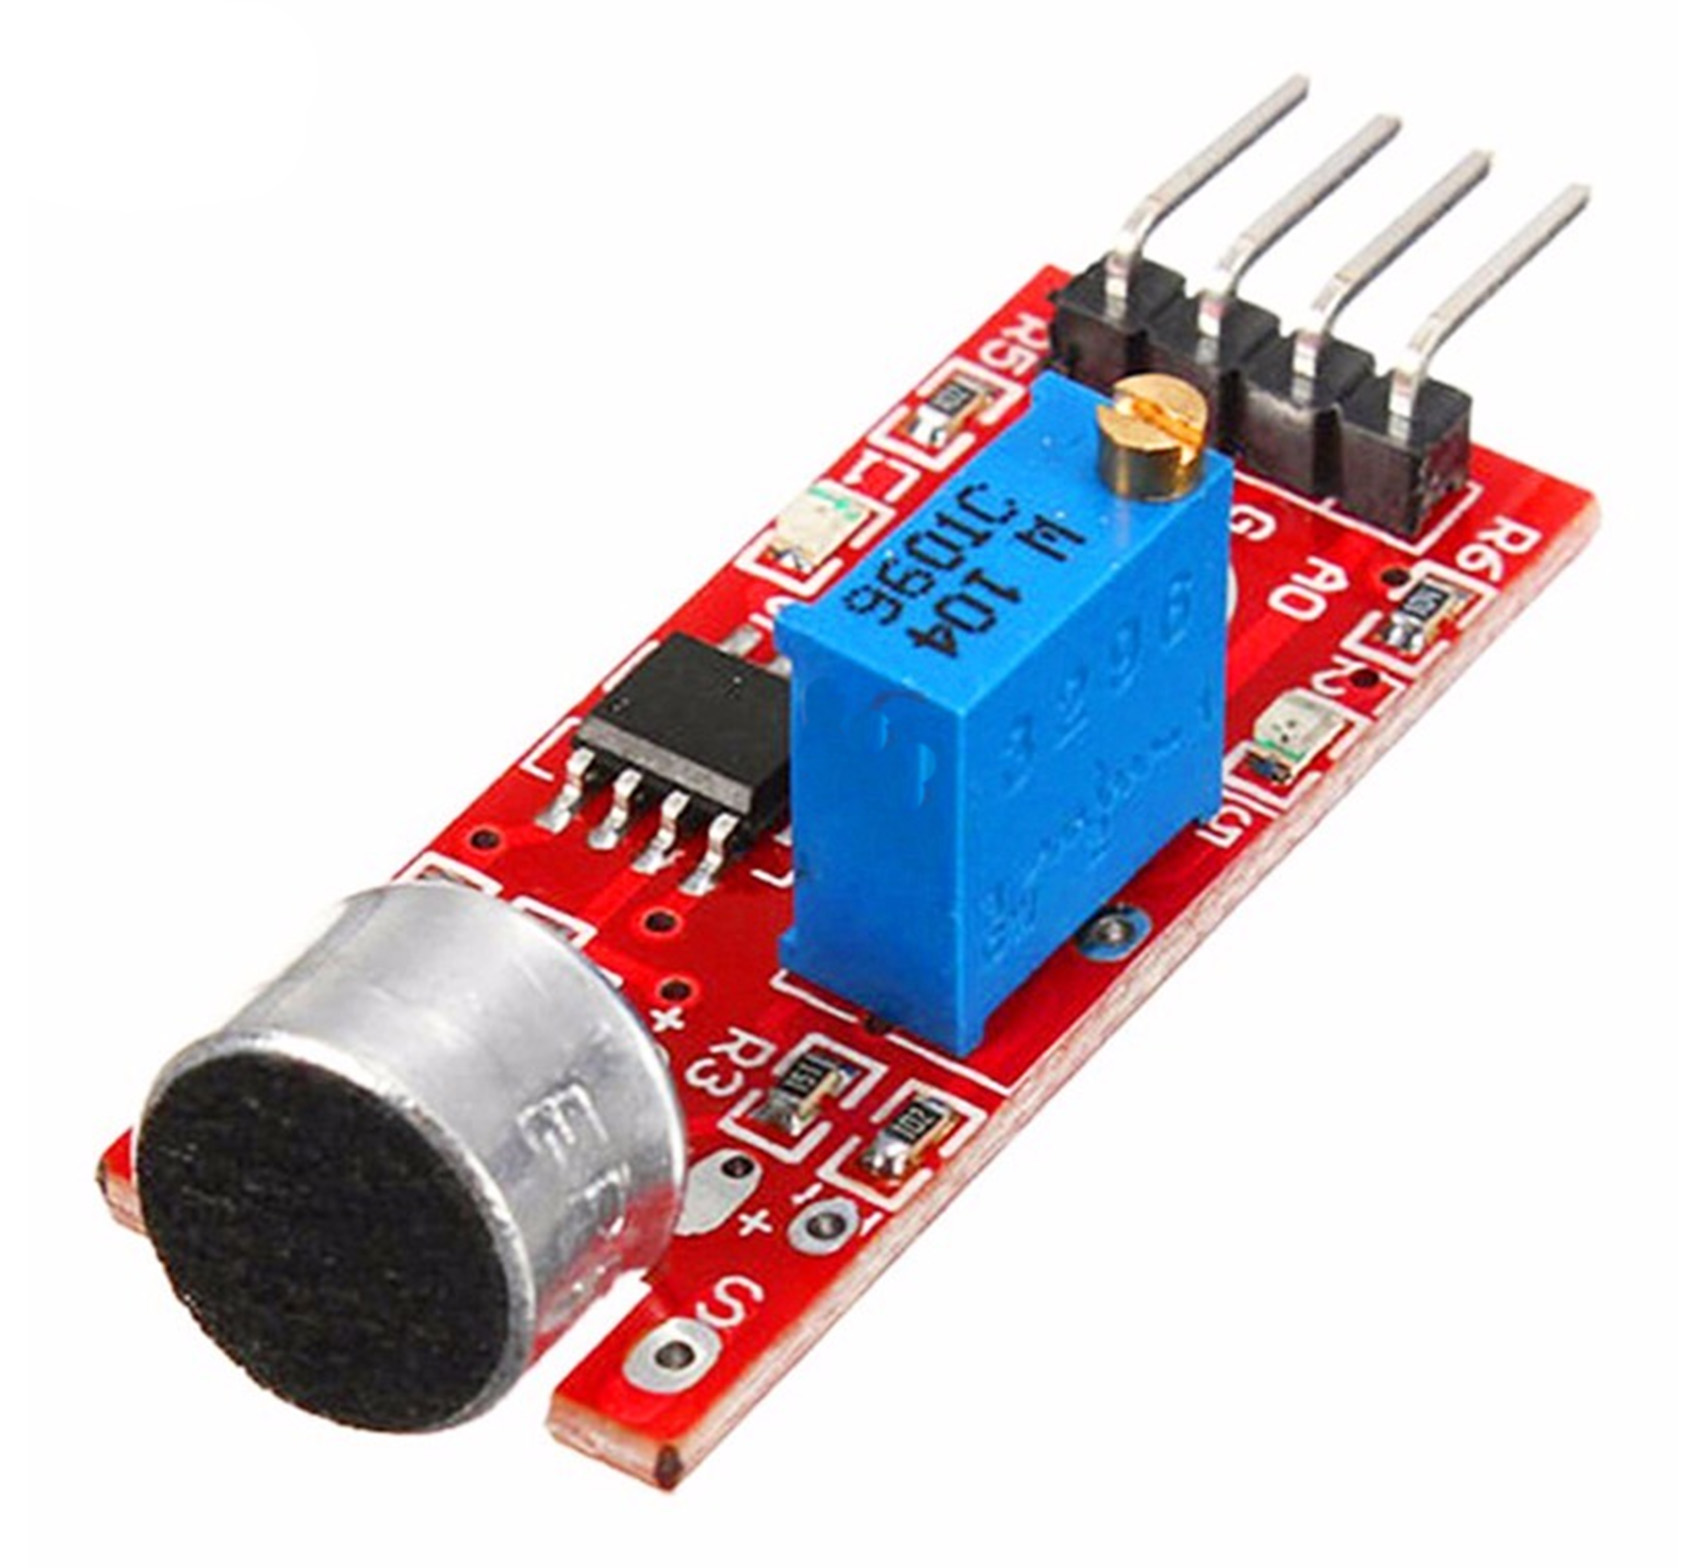
- A big electret microphone: the round part with the black mesh face. It turns sound, which is tiny ripples in air pressure, into a tiny changing voltage.
- An LM393 comparator, the 8-legged chip, which compares that voltage with a fixed point and switches D0.
- A tall blue trim pot (marked 104, for 100 kΩ). It's a multi-turn pot: the brass screw takes many turns to go from one end to the other.
- Two LEDs: one for power, and one that flashes as the comparator trips.
- A 4-pin header: A0, G (ground), + (5 V) and D0.
What A0 really gives you
A microphone doesn't output loudness. It outputs the sound wave itself: a voltage that wobbles above and below a resting level, hundreds or thousands of times a second. On this board the trim pot sets that resting level, and the sound rides on top of it.
So when you plot A0 in a quiet room you see a nearly flat line, wherever the screw left it. Clap, and the line jumps for a moment, then settles. That's exactly what the walkthrough's Serial Plotter showed: background noise as a low ripple, and a spike for each clap.
D0 works from the same signal. The course's notes put the trip point at about 510: whenever A0 dips below it, D0 goes to 1 and the second LED flashes. A loud sound swings A0 across that line, so D0 pulses for as long as the sound lasts, which for a clap is a split second.
That's why the course's sketch checks every 5 ms, where the flame and temperature boards check every 150. A clap is over almost as soon as it starts, and a slow loop misses it.
Wiring the KY-037 to the HERO Board
| KY-037 pin | HERO Board | What it carries |
|---|---|---|
| A0 | A0 | The sound wave, on a resting level |
| G | GND | Ground |
| + | 5V | Power |
| D0 | Pin 8 | 1 while the sound crosses the trip point |
The walkthrough wires A0, G and + and watches the analog signal. The course's code also reads D0 on pin 8, so wire all four.
The code
No library needed. The course's sketch lights the built-in LED while D0 is high:
const uint8_t KY_037_DIGITAL_IN = 8;  // D0: 1 while the sound crosses the trip point
const uint8_t KY_037_ANALOG_IN = A0;  // A0: the sound wave

void setup() {
  Serial.begin(9600);
  pinMode(LED_BUILTIN, OUTPUT);
  pinMode(KY_037_DIGITAL_IN, INPUT);
  pinMode(KY_037_ANALOG_IN, INPUT);
}

void loop() {
  int ky037_Dval = digitalRead(KY_037_DIGITAL_IN);
  int ky037_Aval = analogRead(KY_037_ANALOG_IN);

  if (ky037_Dval == HIGH)   // louder than the set point
    digitalWrite(LED_BUILTIN, HIGH);
  else
    digitalWrite(LED_BUILTIN, LOW);
  delay(5);                 // check often: a clap is short

  // Uncomment while you set the trim pot
  // Serial.print("Digital Value: ");
  // Serial.print(ky037_Dval);
  // Serial.print(" | ");
  // Serial.print("Analog value: ");
  // Serial.println(ky037_Aval);
}The KY-038 runs this same sketch with different variable names. The LED flashes rather than staying on, because D0 only stays high while the sound lasts.
Set the trim pot in a quiet room
- Uncomment the
Serial.printlines, upload, and open the Serial Monitor at 9600 baud. - In a quiet room, turn the screw until A0 sits just above 510 and D0 reads 0. Clockwise lowers A0 and counter-clockwise raises it. Being multi-turn, it can take several turns before the number moves much.
- Make your sound in front of the microphone. If it's loud enough and aimed well, A0 dips below about 500, D0 changes to 1 and the second LED flashes.
- Nudge the screw until a clap trips it every time and talking doesn't.
The course's notes say the sensor is directional and works best with the sound straight in front of it, and suggest a speaker or a small motor as a steady test sound. The walkthrough found the same: when a clap was missed, it was usually down to where the microphone was aimed.
Build it: a clap switch
A clap switch is the classic sound build, and the walkthrough points at the next step: put a relay on it and clap your lights on. The trick is that one clap makes D0 pulse several times as the sound rings out, so a simple sketch toggles twice and ends up where it started. This one ignores D0 for 300 ms after each clap:
const uint8_t KY_037_DIGITAL_IN = 8;  // D0
bool lightOn = false;
unsigned long lastClap = 0;

void setup() {
  pinMode(LED_BUILTIN, OUTPUT);
  pinMode(KY_037_DIGITAL_IN, INPUT);
}

void loop() {
  if (digitalRead(KY_037_DIGITAL_IN) == HIGH && millis() - lastClap > 300) {
    lastClap = millis();          // ignore the rest of this clap
    lightOn = !lightOn;
    digitalWrite(LED_BUILTIN, lightOn ? HIGH : LOW);
  }
}The loop has no delay(), so it never misses the start of a clap, and millis() keeps time for the 300 ms window. Once it works with the built-in LED, drive the kit's KY-019 relay from a free pin to switch something bigger, like a small fan. To ignore door slams and dropped books, ask for two claps: count the second only if it comes between about 0.2 and 0.8 seconds after the first.
KY-037 or KY-038?
The course's notes say the two work exactly the same way; the difference is the size and sensitivity of the microphone. The walkthroughs show what that means in practice. The KY-037's big microphone picked up claps well, while the small one on the KY-038 caught breath and close-up sounds and missed most claps; the instructor would pick the KY-037 for a clap sensor. Use the KY-037 for sounds in the room and the KY-038 for sounds right at the microphone.
Common problems
- D0 is always 1. A0's resting level is below 510. Turn the screw counter-clockwise in a quiet room until D0 drops to 0.
- Nothing triggers it. The resting level is too far above 510 for any sound to reach. Turn the screw clockwise until A0 sits just above it.
- One clap toggles twice. D0 pulses several times per clap. Ignore it for a few hundred milliseconds after each one, as the clap switch does.
- The screw turns but nothing changes. It's a multi-turn pot. Keep going.
- It can't tell you decibels. It isn't calibrated. The course's notes are clear that these boards detect sound; they don't measure it.
Watch it
The KY-037 walkthrough is lesson 29 of the SensorKit course, and the KY-038's is the next one. Every module in the 37-in-1 sensor kit covers the rest, and the analogRead article explains the 0 to 1023 reading.
37-in-1 Sensor Kit: Both sound sensors and 35 more modules in a latching case, with the free SensorKit course: 31 filmed walkthroughs and example code.
HERO Board: The Uno-compatible board the SensorKit walkthroughs are built around, with its USB cable.
Questions
What's the difference between the KY-037 and the KY-038?
Only the microphone. They share the same circuit and the same code. The KY-037's bigger microphone is more sensitive and better for claps across a room; the KY-038 suits sounds close to it.
Can the KY-037 measure decibels?
No. Its output is the raw sound wave on a level set by the trim pot, not a calibrated loudness. You can compare louder and quieter, but not in decibels.
Why is my KY-037's D0 always on?
Its resting analog level is below the comparator's trip point of about 510. Turn the trim pot counter-clockwise in a quiet room until D0 reads 0.
How do I make a clap switch with the KY-037?
Read D0, toggle a light when it goes high, and ignore D0 for about 300 ms afterwards so each clap counts once. The full sketch is on this page.