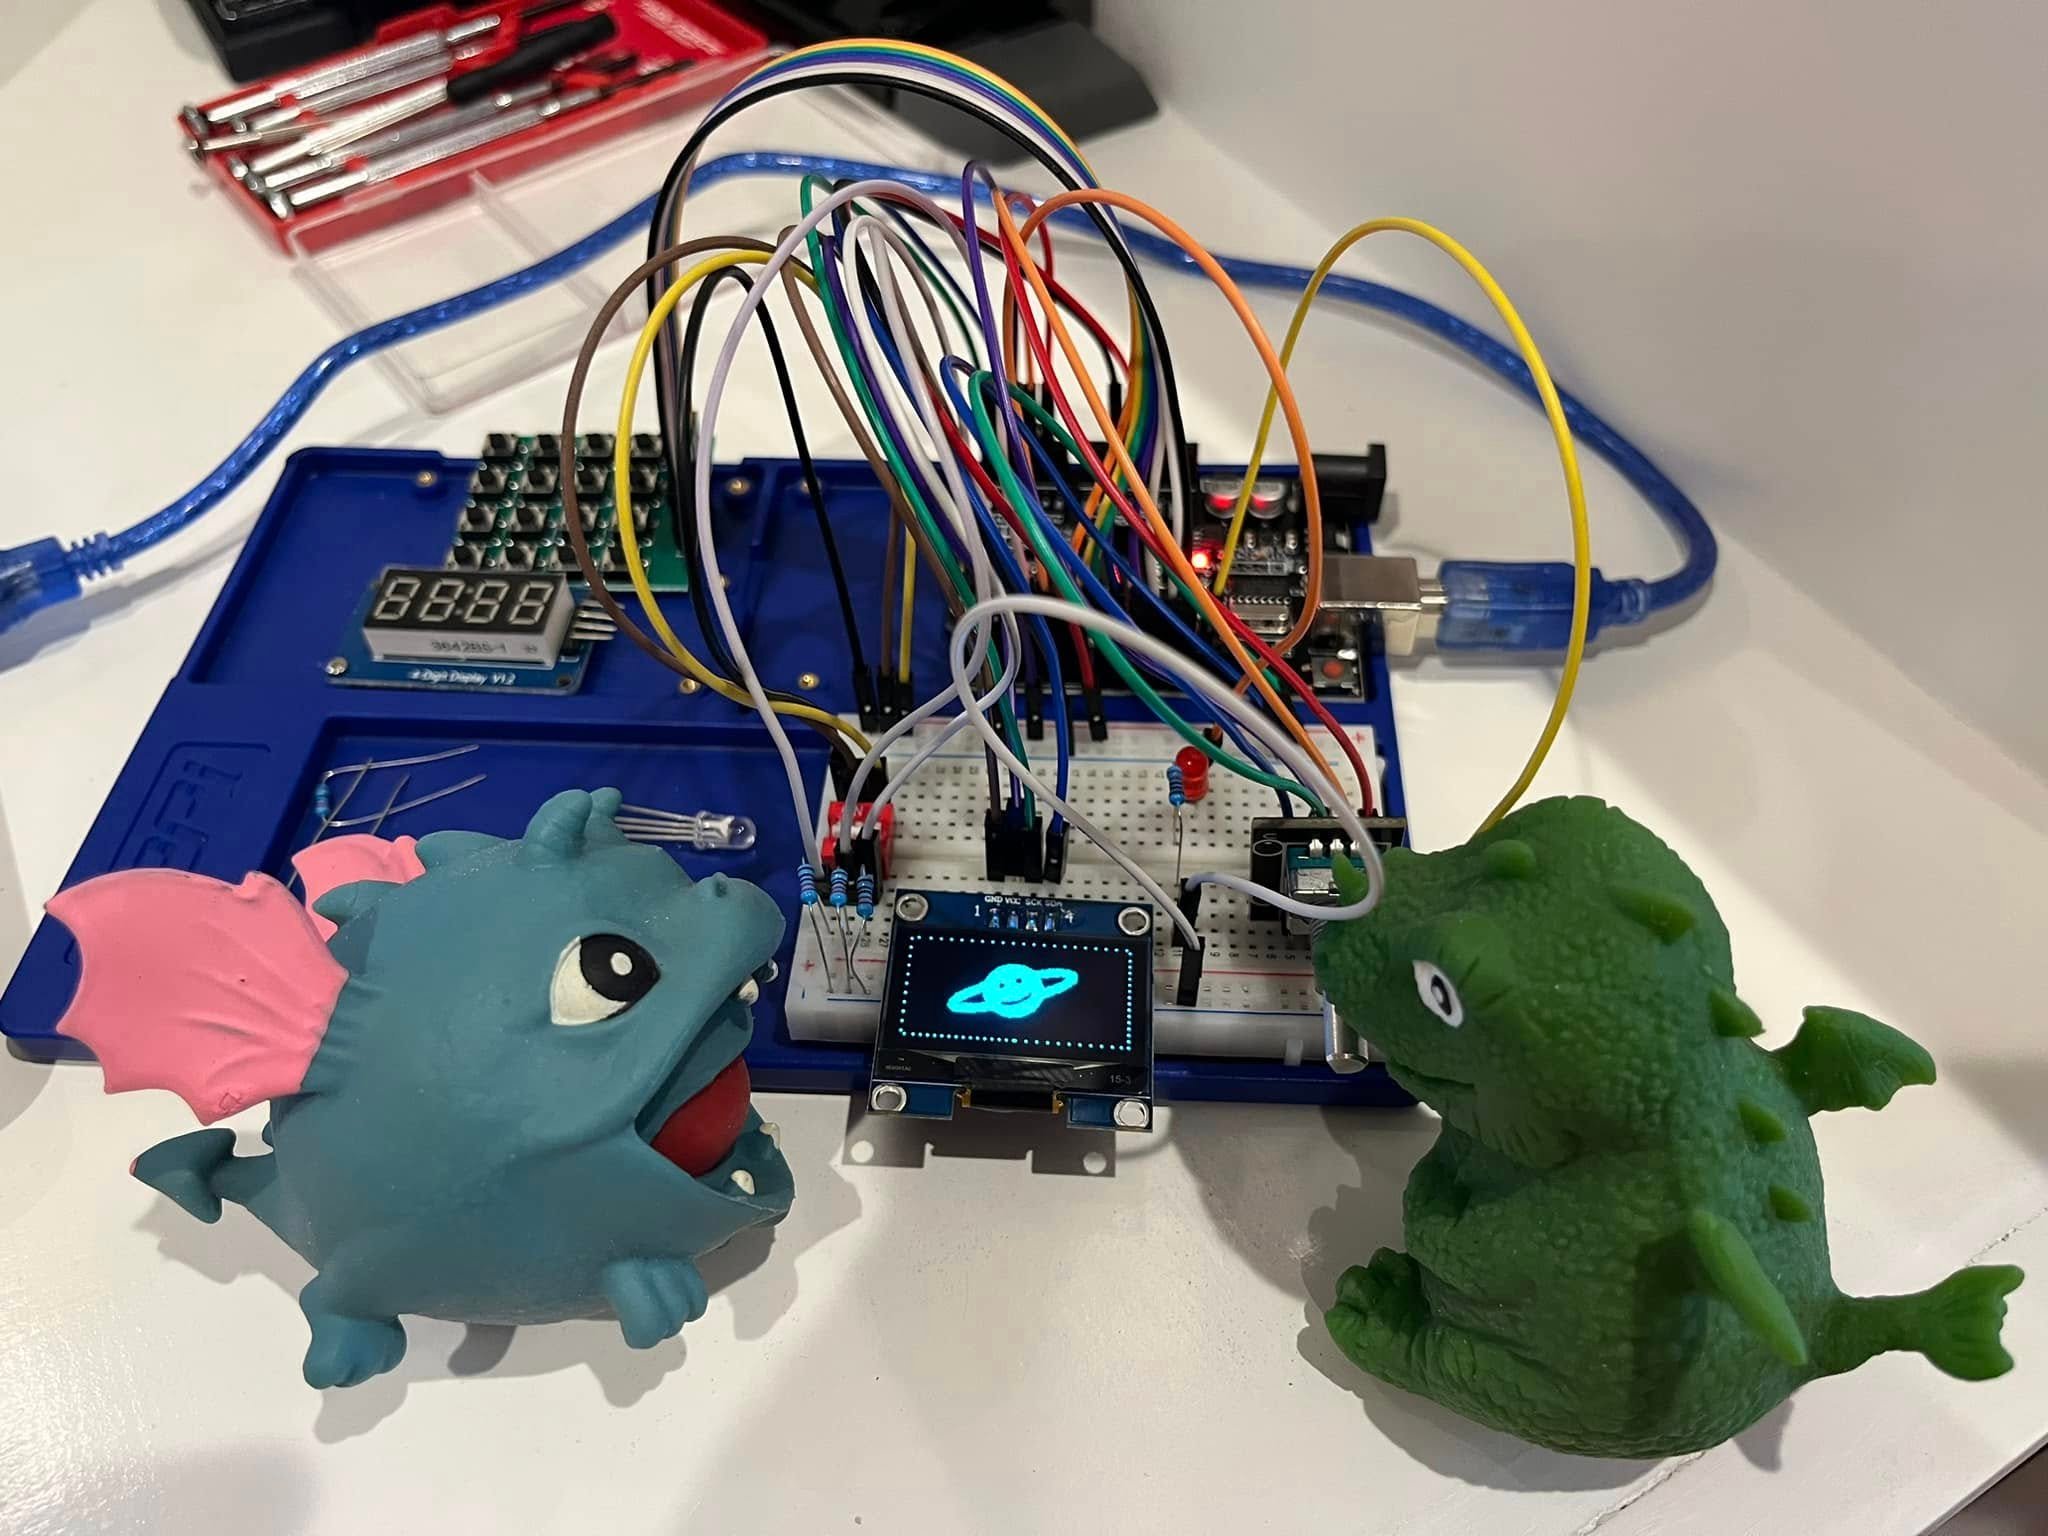
Homeschool electronics: a one-semester plan
Updated
Electronics is one of the few subjects where you can see whether the lesson worked: the light comes on or it doesn't. That makes it a strong fit for homeschool, even if you've never wired anything yourself.
This plan runs one semester, 18 weeks, on the 31 lessons of 30 Days Lost in Space. Two lessons a week, a free-build week to close each chapter, and a check for every week that you can do without knowing any electronics.
What you need
- The 30 Days Lost in Space kit. The HERO Board, a breadboard, an OLED screen, a 4-digit display, a 16-button keypad, a rotary encoder, a buzzer, a DIP switch, a photoresistor, an RGB LED, LEDs, resistors and jumper wires: everything for all 31 lessons. Nothing is soldered.
- A computer. Windows, Mac or a Chromebook, with Chrome or Edge and an internet connection. The lessons and the simulator are online, and code uploads to the board from the lesson page.
- A free CraftingTable account for the student, so their lessons save progress.
- A paper notebook for a build log. You'll see why below.
The kit is for ages 12 and up, as printed on the box. The lessons talk to the student, not to a parent, so a student who reads well can run each session alone and show you the result.
How the course is built
There are 31 filmed lessons: a prologue and 30 missions in six chapters, about 10 hours of video in all. A person on screen does each build alongside the student. Plan time for building and debugging on top of the video: that's where most of the learning happens.
Each of the first five chapters ends with a Creative Day. There's no new mission and no wiring diagram: the student takes the parts and skills so far and builds something of their own design. Those five days are your assessments, and the plan below gives each one its own week.
The 18-week plan
| Week | Lessons | What they learn | How you check |
|---|---|---|---|
| 1 | Day 0, Day 1 | Setting up the board and uploading a first program: setup(), loop(), digitalWrite() and delay() | The board's light blinks. Ask them to change the speed and upload again. |
| 2 | Day 2, Day 3 | Breadboard, resistors and LEDs; reading a DIP switch with digitalRead(); if and else | The switch turns their LED on and off. Ask why the LED needs a resistor. |
| 3 | Day 4, Creative Day 1 | Three lights on three switches, then a lighting build of their own | They demo the build and explain one line of its code. |
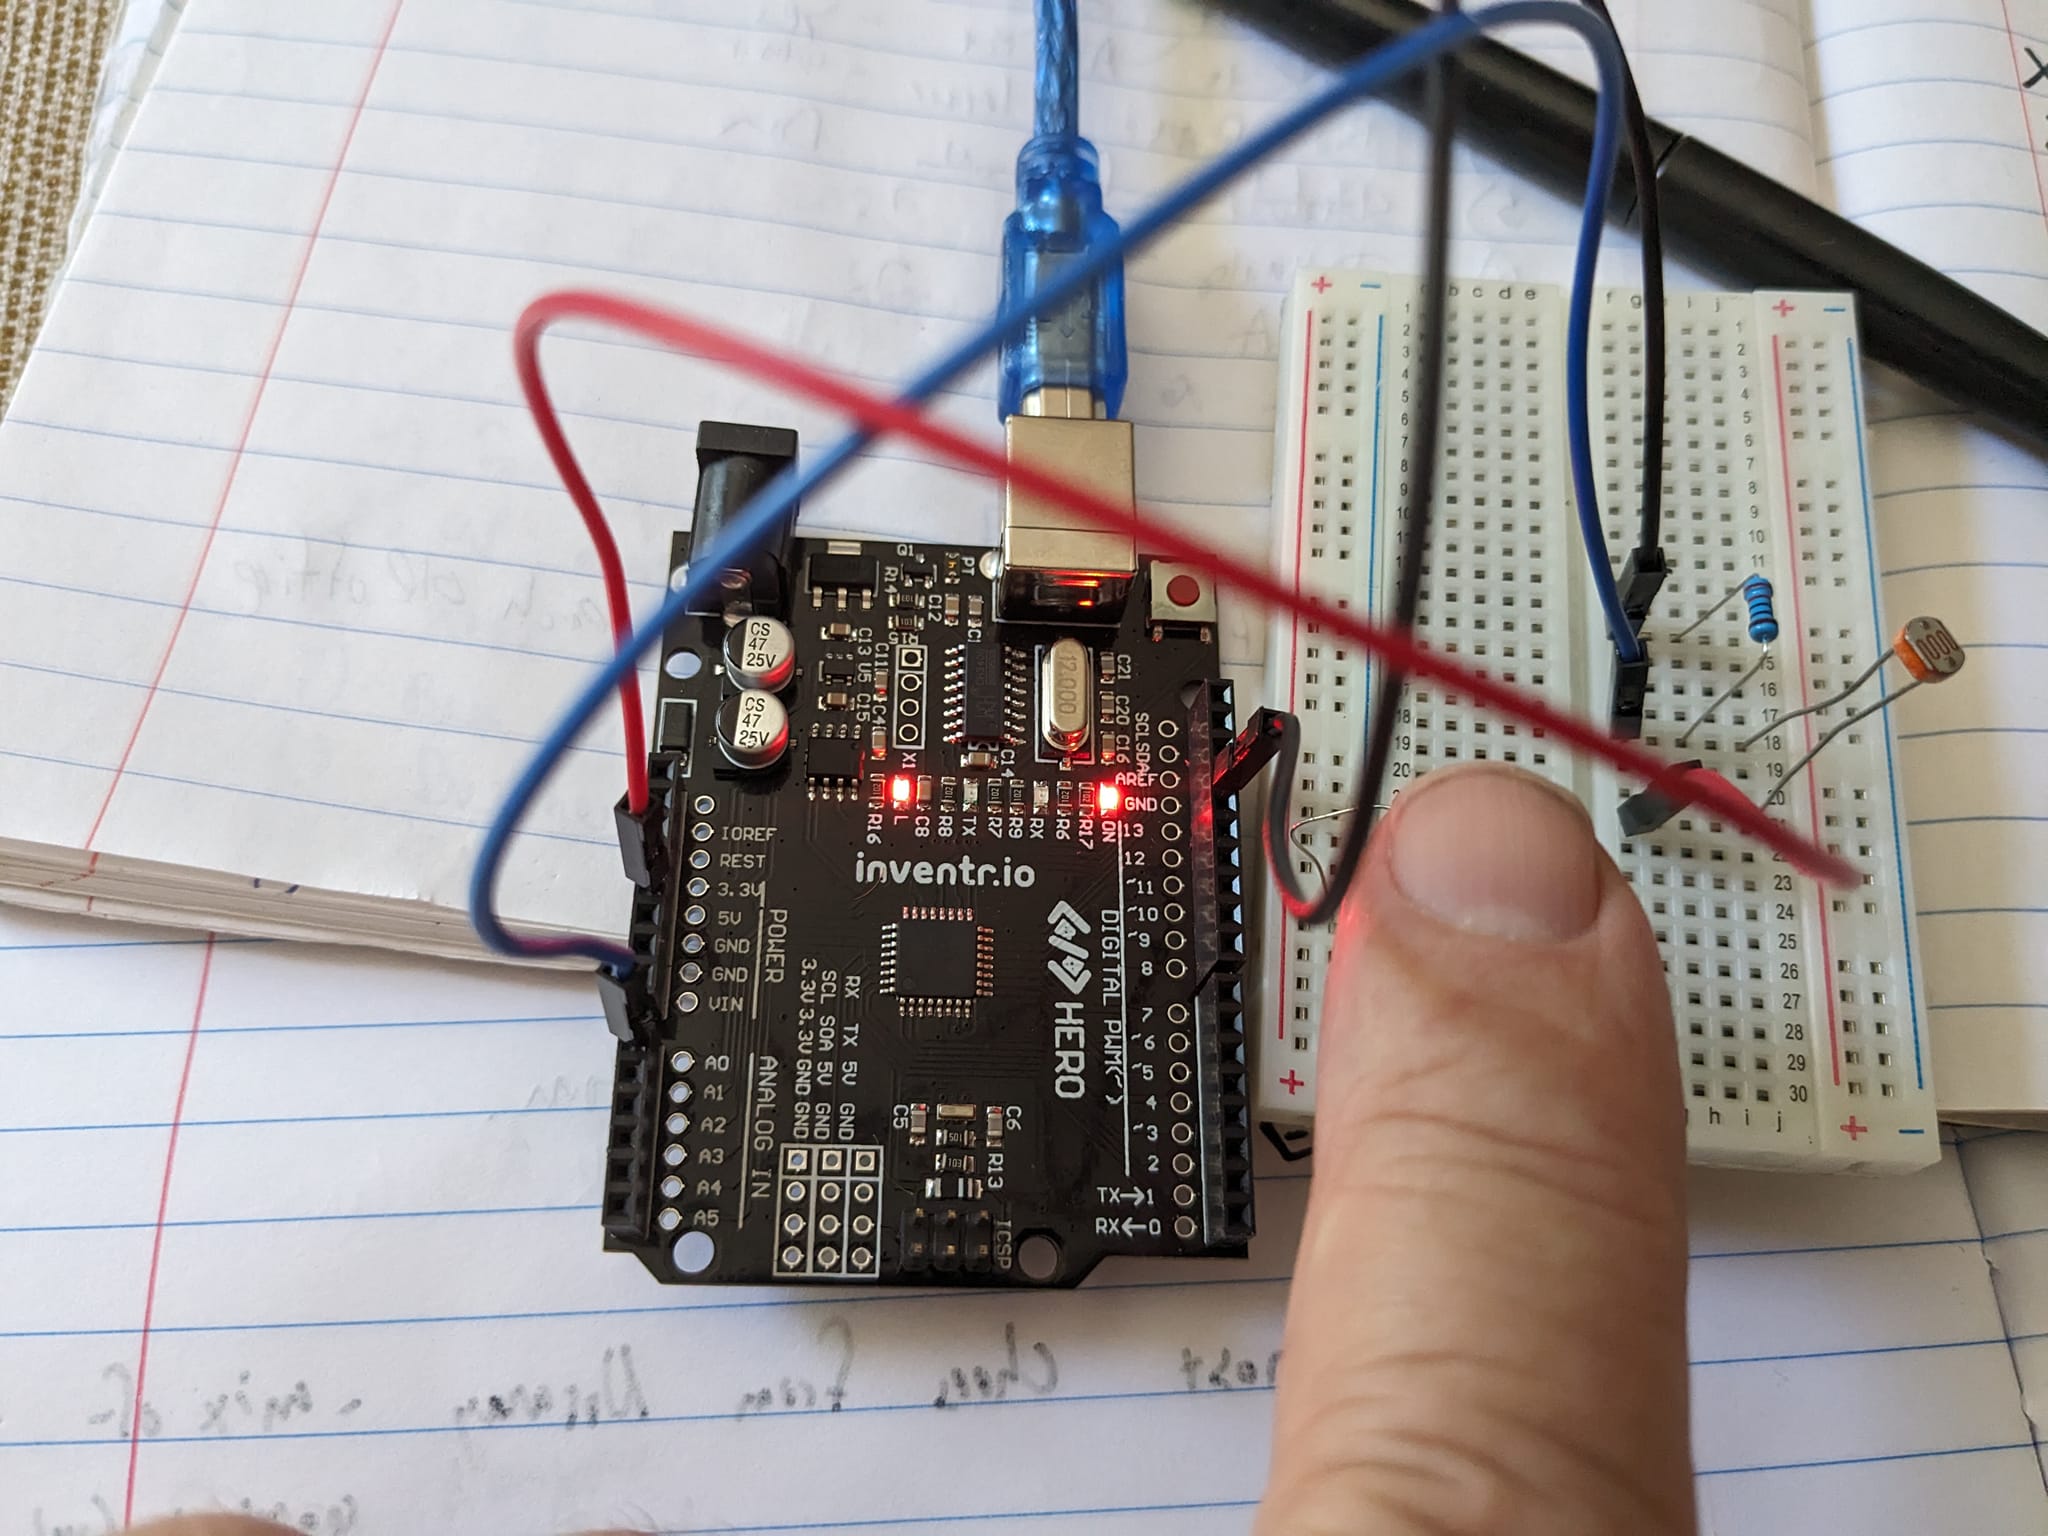
| 4 | Day 6, Day 7 | The photoresistor, analog versus digital, analogRead() and the Serial Monitor; number types and functions | Cover the sensor with a hand and the numbers on screen drop. |
| 5 | Day 8, Day 9 | PWM and analogWrite() to mix colours on the RGB LED; else if chains for a battery gauge that changes colour | Name a colour and they make the LED show it. |
| 6 | Creative Day 2 | A light-sensing build of their own; the video suggests a night light | Demo, plus the first build-log entry. |
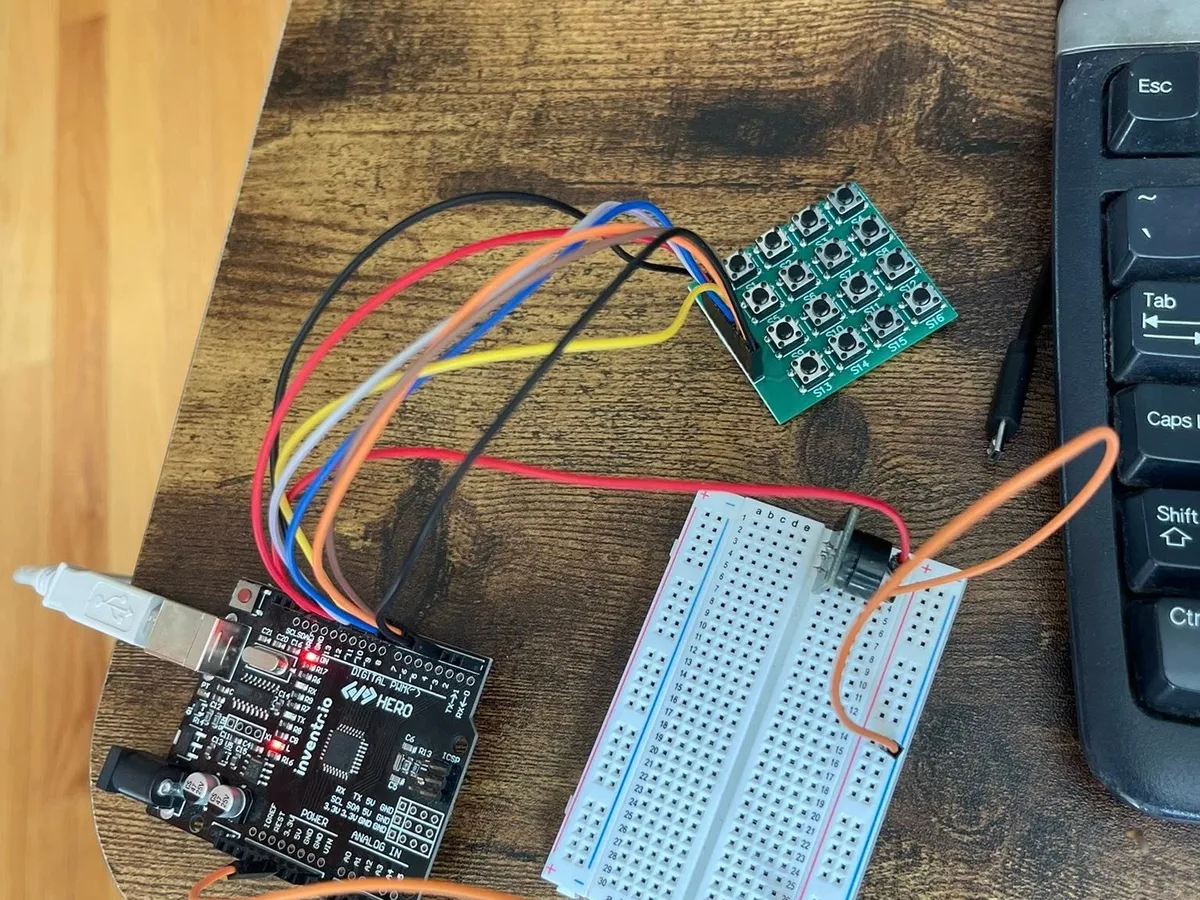
| 7 | Day 11, Day 12 | The 16-button keypad, installing a library, arrays; the buzzer and tone() | Each key plays a different note. |
| 8 | Day 13, Day 14 | A passcode check written as a function that returns true or false; light and sound for right and wrong codes | The lock opens only for the right code. Ask them to change the code. |
| 9 | Creative Day 3 | The halfway point. The video sets a challenge: close a security flaw in the passcode check | Ask them to explain the flaw in their own words. |
| 10 | Day 16, Day 17 | The 4-digit display and its library; a Caesar cipher to decode a locked message | Encode a short word yourself, shifting each letter three places along the alphabet, and see if they can decode it. |
| 11 | Day 18, Day 19 | The rotary encoder and interrupts; a depth readout with alarms for the ascent | Turning the dial changes the depth on the display. |
| 12 | Creative Day 4 | A display build of their own: a colour mixer, an alarm clock or a jukebox | Demo and build log. |
| 13 | Day 21, Day 22 | The OLED screen over I2C with the U8g2 library; text, shapes and bitmaps; switch and bit operations | Their name on the screen. |
| 14 | Day 23, Day 24 | A countdown on two displays at once; the launch sequence as five states: waiting, arming, countdown, liftoff and abort | Turn off any switch mid-countdown and the launch aborts. |
| 15 | Creative Day 5 | A build of their own; the video's prompt is the flag you'd plant on a new planet | Demo and build log. |
| 16 | Day 26, Day 27 | Drawing their own bitmap images and turning them into code; counting in binary with three switches | A picture they drew shows on the screen. |
| 17 | Day 28, Day 29 | Landing gear and docking: the keypad, the switches and both displays in one program | The docking run, start to finish. |
| 18 | Day 30, final project | The wrap-up, then a project they design, build and write up | The final demo and the write-up. |
Lesson links open the lessons themselves. Each week is two sessions; the Creative Day weeks leave room to catch up.
How to check the work without knowing electronics
You don't need to understand the code to know whether it was learned. Every lesson ends with something that visibly works, and that's your first piece of evidence. Then use these:
- Ask for one line. Point at any line of their code and ask what it does. A student who copied it can't answer; a student who wrote it can.
- Pull one wire. While they're out of the room, gently pull one jumper wire out of the breadboard. Finding it from the symptom is real troubleshooting, and it's harmless to the parts.
- Change the brief. Ask for a small variation: a different passcode, a slower countdown, a new colour. A working change means they understood the code, not just typed it.
- Keep a build log. A photo and three sentences per Creative Day: what it does, how it works, what went wrong. Over a semester that's a record you can show anyone.
When the student is signed in, each lesson has a Mark Complete button and the course page shows how far through they are. Treat that as an attendance log, not proof. The proof is on the desk.
When something won't work
It will, several times, and that's part of the course rather than a failure of it. Every build is also wired up in the free browser simulator, so the student can compare their circuit with one that runs. The AI guide inside each lesson gives hints, not answers; it isn't a live person. And the Help Center covers the usual suspects:
- My LED won't turn on
- Upload failed or port not found
- Code compiles but nothing happens
- Compiler errors such as expected ';'
- The OLED display shows nothing
Younger, faster, or more than one student
- Younger than 12, or not ready to type yet? Snap Circuits may be the better first semester. When to move up from Snap Circuits explains the signs.
- Finished early? The 37-in-1 Sensor Kit plugs into the same HERO Board, and every module has a filmed walkthrough in the free SensorKit course. Pandora's Box is the next full kit after that.
- Teaching siblings or a co-op? Each student needs their own kit and computer, because every build lives on their own board. A school deploying it to classes is a different setup: that's CraftingTable for schools.
What this plan is, and what it isn't
It's a semester of hands-on electronics and C++ with a working build every week. We don't claim it earns a credit or lines up with a particular standard, and how you record it is up to you. What you'll have at the end is the evidence: weekly builds, five projects your student designed, a final project, and a log of all of it.
Want to see the teaching before you plan around it? The lessons are free to watch with a free account, and the prologue needs no account at all.
30 Days Lost in Space: Everything this plan uses: the HERO Board, every part for 31 filmed lessons, and the story that ties them together.
Questions
Do I need to know electronics to teach this?
No. The lessons teach the student directly, on video, and every week ends with a build you can see working. Your job is to ask for the demo and one line of explanation.
How long is each lesson?
The 31 lessons add up to about 10 hours of video. With building and debugging, plan on two sessions a week, as in the table above.
What age is it for?
12 and up, as printed on the box. Younger students who aren't ready to type code may do better with a snap-together kit first.
Does it work on a Chromebook?
Yes. The lessons run in Chrome or Edge, and code uploads to the HERO Board from the lesson page, on Windows, Mac or a Chromebook.
Can two children share one kit?
They can take turns, but each build stays wired on the board between lessons, so two students working at the same pace will want a kit each.